Having an optimized Google My Business listing is crucial for local businesses looking to drive visits, calls, and sales in 2024. With over 90% of searches on Google have local intent, getting your Google My Business profile set up and optimized should be a top priority.
In this comprehensive guide, you’ll learn step-by-step how to create, verify, optimize, and manage your Google My Business listing to maximize your visibility and connect with local customers.
Table of Contents
Why Google My Business Matters
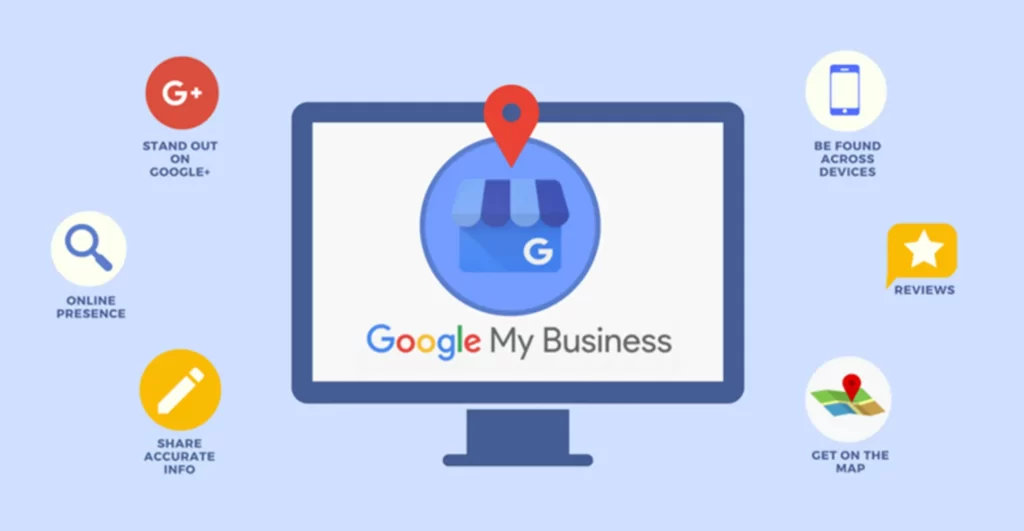
- Over 90% of searches on Google have local intent. People are looking for local businesses like yours.
- Google My Business listings appear prominently in local search results above regular organic results.
- It helps you connect with customers nearby and drive visits, calls, bookings, and sales.
- Listings appear on Google Maps and Google Search giving you exposure and visibility.
- Positive reviews on Google My Business listing build trust and social proof.
- Helps you stand out from competitors by optimizing your business information.
Having an optimized Google My Business profile is essential for any local business in 2024 and beyond. Let’s look at how you can set it up and optimize it step-by-step.
Also Read – Google My Business: A Guide to Google Business Profile
Step 1 – Create Your Google My Business Listing
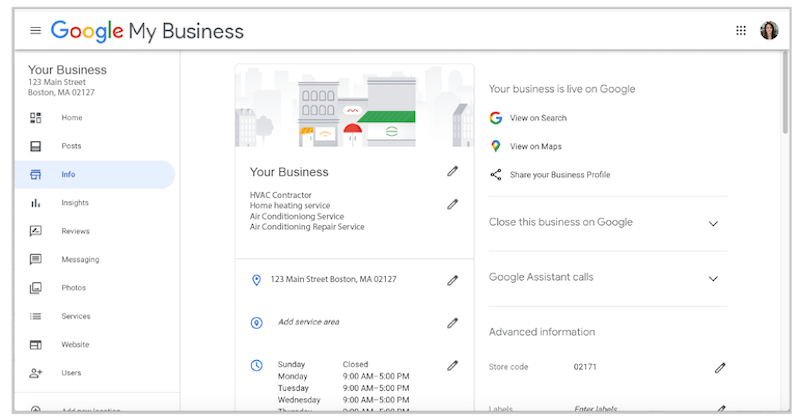
Go to google.com/business and click on “Manage now” to get started.
If you don’t already have one, you’ll need to create a Google account. Make sure you use a corporate email ID and not a personal Gmail ID.
Once you’ve signed in, enter your business name and address. Google will try to verify this information.
Select your business category carefully. This cannot be changed later. Get it right the first time.
If your business has multiple locations, you can manage them under one account. Add new locations if needed.
Double-check all information entered during setup. Mistakes can impact visibility.
Read and agree to the Google My Business terms and conditions to complete the process.
Step 2 – Verify Your Business Listing
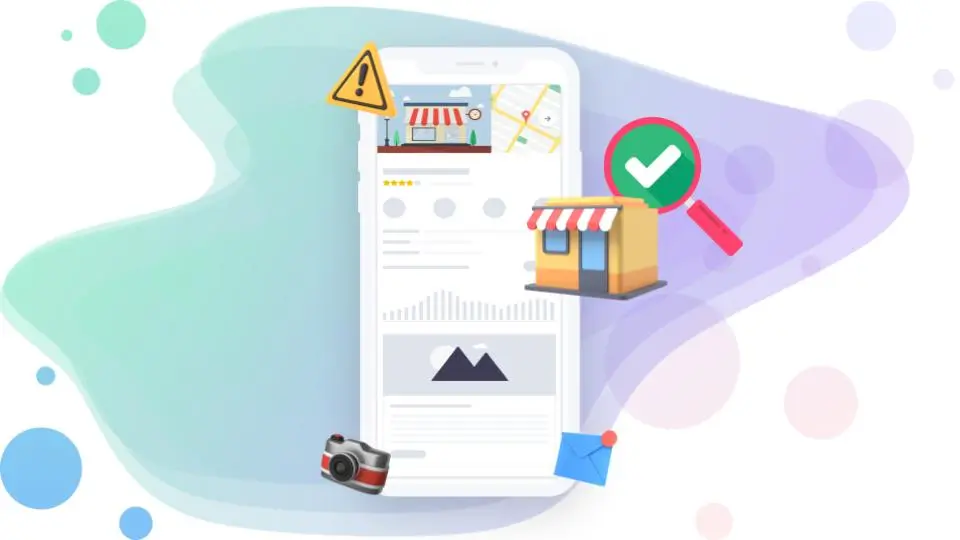
Google will try to verify your business automatically through public records and data.
If automatic verification doesn’t work, you’ll have to request for a verification postcard or email.
Once received, enter the verification PIN to confirm ownership of your business.
Verification helps confirm the accuracy of your business information.
It also gives your listing a “verified” label which builds trust and credibility with customers.
Do not skip this vital step in the Google My Business setup process.
Step 3 – Complete and Optimize Your Business Profile
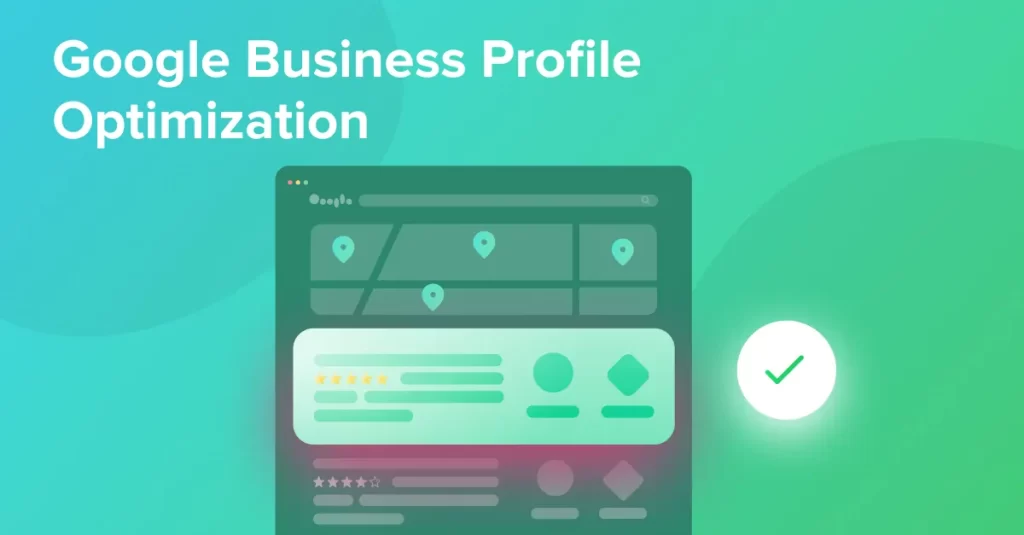
Now it’s time to flesh out your business profile and make sure all the information is optimized for discoverability and visibility.
Business Name
- Keep it consistent with your official registered business name.
- Don’t use abbreviations or extra words.
Business Address
- Use your actual business address – no P.O. boxes.
- Ensure the address format is accurate.
- Add zip code for maximum accuracy.
Business Category
- Choose the most specific and accurate category for your business type.
- Get this right the first time as you can’t change it later.
Contact Details
- Add your business phone number, email, and website URL.
- Keep this information updated.
- Set preferences on how and when you’re available for calls and messages.
Business Description
- Write a detailed description of what your business does.
- Include keywords people would search for.
- Let customers know why they should visit/use your business.
- Add any specialties, awards, certifications, or unique selling points.
Profile Photos
- Add high-quality photos showing your business exterior, interior, products/services, and staff.
- Photos should visually represent your business.
- Delete any blurry, poor-quality, or irrelevant photos.
- Photo captions can include targeted keywords.
Cover Photo
- The cover photo appears prominently at the top of your listing.
- Use a high-quality, eye-catching image relevant to your business.
- Include your business name/logo if possible.
Business Attributes
- Accurately specify business attributes like square footage, parking availability, ambiance etc.
- Helps customers know what to expect.
- Specify the price range, health & safety measures, and accessibility options.
- Add amenities like wifi, delivery options, payment modes accepted, etc.
- Provide complete and detailed information.
Service Area
- Specify the geographical regions you serve customers in.
- If you serve customers nationally or globally, do mention it.
- Helps you connect with the right customers looking for businesses in your service area.
Step 4 – Get Reviews to Build Social Proof

Positive online reviews are crucial social proof that builds credibility and trust with potential customers.
- Ask satisfied customers to leave detailed reviews on your GMB listing. Follow up if needed.
- Respond professionally to any negative reviews to resolve issues.
- More reviews lead to higher local rankings, so don’t neglect this area.
- Adding photos, longer reviews, and non-anonymous reviews are ideal.
- Monitor reviews over time and maintain a high average rating.
Step 5 – Ensure Your Listing Appears Accurate on Google Maps
Here’s how you can make sure your Google My Business listing appears accurately on Google Maps:
- Check that the location pin is placed accurately on the map. Update it if needed.
- Street view images should match your business premises. Ask Google to recapture if outdated.
- Information should match your Google My Business details – name, address, photos, etc.
- The listing should be visible as a pin on the map in the appropriate location.
- Request changes if anything appears outdated or inaccurate.
Step 6 – Publish Posts to Engage Customers

Post frequently on your Google My Business listing to engage visitors and keep the information updated.
- Share news, announcements, events, offers, promotions, etc.
- Post relevant photos, videos, or graphics along with text updates.
- Keep tone conversational, and engaging, and add value for readers.
- Ask questions or encourage comments from readers to increase engagement.
- Monitor analytics to see which posts resonate best with your audience.
- Post consistently, but avoid overly promotional content.
Step 7 – Use Google Posts Ads to Boost Visibility

Google Posts Ads lets you sponsor your posts to reach more customers in your local area.
- Choose who to target – by location radius, interests, demographics, etc.
- Set a budget for how much you want to spend. Start small.
- Write compelling ad text and choose visuals wisely.
- Track performance – clicks, views, engagement, etc.
- Tweak targeting and copy to optimize results.
- Useful for promoting events, offers, new products/services, etc.
Step 8 – Leverage Google Messaging to Connect With Customers
Google messaging lets you have real conversations with interested customers directly on Google.
- It provides a free and easy way to respond to leads and queries.
- You can assign team members access to manage messaging.
- Set up quick response templates and canned messages to save time.
- Customers expect quick responses so check frequently and reply fast.
- Pay attention to message sentiment and resolve any issues.
- Offer valuable information – don’t just pitch products/services.
- Route messages to email if longer responses are required.
Step 9 – Feature Products and Services
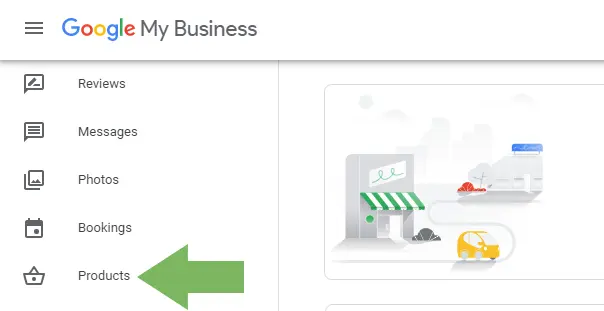
Showcase your top products/services right on your Business Profile using Product Posts.
- Add visually appealing photos and detailed descriptions.
- Include pricing, availability, and other key details.
- Allows customers to learn about and directly purchase offerings.
- Drive visits by teasing products on your listing.
- Update regularly to feature new or seasonal offerings.
- Monitor analytics to see which gets the most views and engagement.
Step 10 – Link To Your Social Profiles
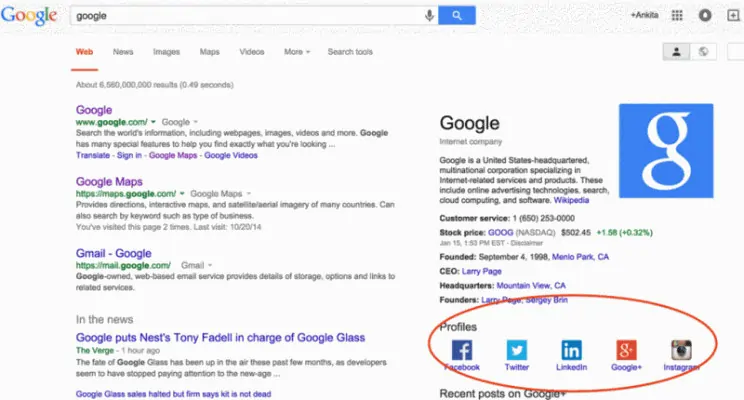
Connecting your Google My Business listing to your other social profiles helps establish credibility and authority.
Link to profiles like:
- Facebook business page
- Instagram business profile
- LinkedIn company page
- Twitter business handle
- YouTube channel
This also lets you seamlessly cross-post updates across multiple platforms simultaneously.
Step 11 – Track Insights and Analytics
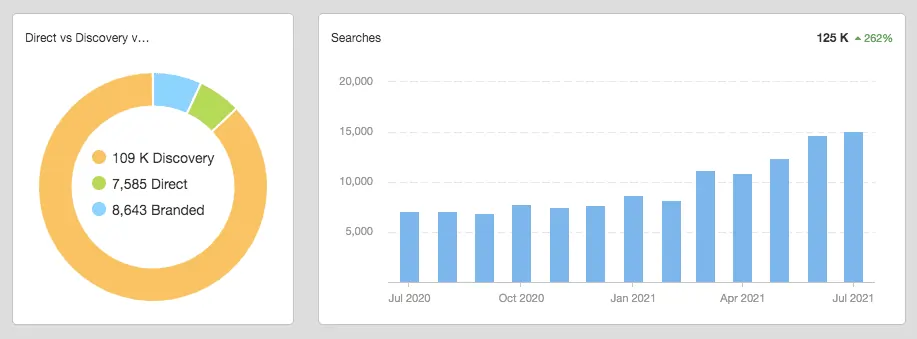
Analyzing the built-in analytics for your listing helps improve performance over time.
Key metrics to monitor regularly:
- Views – how often your listing is being viewed
- Discovery – how customers are finding your listing
- Directions – driving directions requests
- Calls – call requests made
- Website visits – clicks to your website
- Posts – reach and engagement for your posts
- Customer actions – calls, direction requests, etc.
Step 12 – Promote Your Listing Locally
Don’t just rely on Google to promote your listing. Actively promote it yourself offline and on other channels.
- Add the Google My Business sticker to storefronts.
- Include the listing link/map in email signatures and print materials.
- Promote ads, posts, and videos across platforms.
- Add badges to your website pointing to listing and review stars.
- Promote listing URL, handle, and hashtags on packaging.
- Run local SEO campaigns focused on your Google My Business content.
Also Read – How to Write Great LinkedIn Articles (With Examples)
Common Google My Business FAQs
Here are answers to some frequently asked questions about Google My Business setup and optimization:
Conclusion
Optimizing your Google My Business listing improves visibility, helps drive sales and website traffic, and elevates your authority locally.
Follow this 2024 guide to properly set up and enhance your GMB profile. Verify your listing, keep information updated, get reviews, post consistently, monitor analytics, and promote across channels.
Putting in the effort to optimize Google My Business will better connect you with high-intent customers in your area. It establishes your business as a trusted local leader.

